Installing Drivers for your PGA-710B Autoanalysis System
Applies To: Windows® XP, Vista, Win7 32-bit, Win7 64-bit, Win8 32-bit, Win8 64-bit and Win10
One common mistake that customers make when receiving their new PGA-710B Autoanalysis System is assuming that the drivers are pre-installed in Windows and by simply connecting the PGA-710B device to their computer via the USB port, the drivers will install automatically and that the device will start working instantly. Unfortunately, you will need to manually install the Virtual COM Port Driver prior to connecting your PGA-710B device to the computer.
Here’s how to do this:
Step 1:
Go ahead and install the Autoanalysis Application Software version 2.0 located on the CD-ROM or the USB Flash Drive that came with your PGA-710B Autoanalysis System. If installing from a CD-ROM, insert the CD into your computer’s driver and Windows should automatically prompt you to install the software. Go ahead and install it.
If using the USB Flash Drive that came with the system, insert it into a USB port and follow the on-screen instruction for installation.
Step 2:
IMPORTANT: DO NOT CONNECT YOUR PGA-710B DEVICE TO YOUR COMPUTER YET
Once your installation completed, leave the CD-ROM into the computer’s drive. Go to Computer (or My Computer in Windows XP) and open the drive containing the CD (a common drive letter for your CD-ROM drive is D). Once opened, locate a folder named Drivers and open it.
If using the USB Flash Drive, you will be extracting the files onto your Desktop. Once extracted, locate the folder on your Desktop and open the folder named Drivers and open it.
In the Drivers folder, you will find 2 directories; x64 and x86. If you computer is running any version of Windows that is 64-bit, select the x64 directory. If your Windows is running 32-bit, open up the x86 directory.
Step 3:
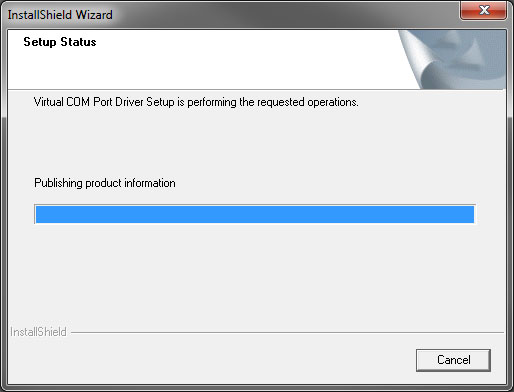
After selecting the correct directory, double-click the VCP_V1.3.1_Setup_x64 or VCP_V1.3.1_Setup.
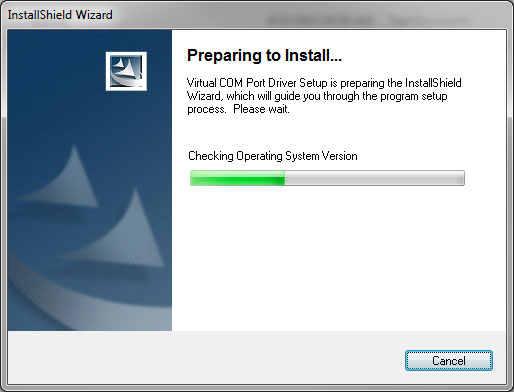
This process should take less than 1 minute. Let it run until installation is complete.
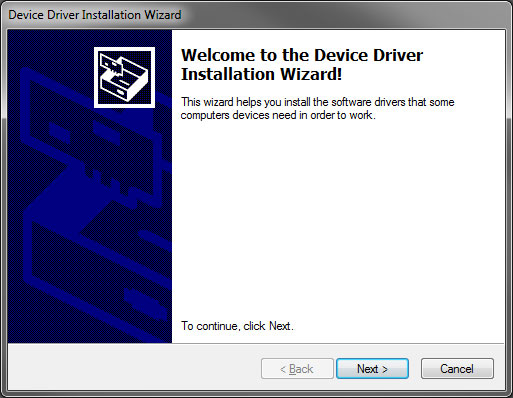

Step 4:
Once the installation complete, click the Finish button. At this point, connect your PGA-710B to your computer using the supplied USB Cable.
Step 5:
Slide the PGA-710B Main Power Switch ON. Press and hold the System On/Sleep button briefly. The green “Unit On” LED flashes slowly.
The “Connect and Record” LED will flash indicating the PGA-710B and the computer are communicating with each other.
The first time you connect the device, Windows will install the necessary drivers automatically.
There you go! You should now be able to start using your PGA-710B with the application software. If your application software was already opened while installing the drivers, you may need to close the application and launch it again in order for it to work.
If you no need to download the drivers, follow the link below to access the Prostat Download Center section:
www.prostatcorp.com/autoanalysis
Recent Comments